
⚠️ NS Boards Setup Guide Part 2 -- The following guide is guide 2 in a series of 14
For first time setup, please ensure to follow the guides in order.
Part 2: Settings
Settings control the defaults used by all of your boards, such as currency, fonts and languages. Set them up once, before you build your boards, and you will save time later.
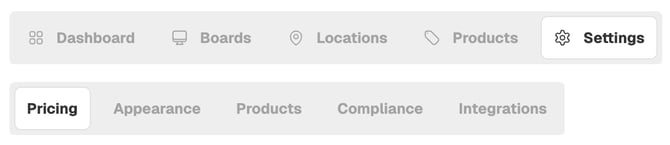
Open Board Manager > Settings. You will see five sub-tabs.

|
Sub-tab |
What it controls |
|---|---|
|
Pricing |
Currency and how prices are displayed. |
|
Appearance |
Default fonts, sizes and colours for text on your boards. |
|
Products |
Languages, extra product fields, default images and icons. |
|
Compliance |
Which product details must be filled in before a product is considered compliant. |
|
Integrations |
Connections to outside systems such as your POS, and manual updates by CSV file. |
⚠️ Important: Always click Save after changing a setting. If you leave a page with unsaved changes, Board Manager warns you; choose to stay on the page to keep your edits.
2.1 Pricing
Use this sub-tab to choose your currency and decide how prices look on screen.
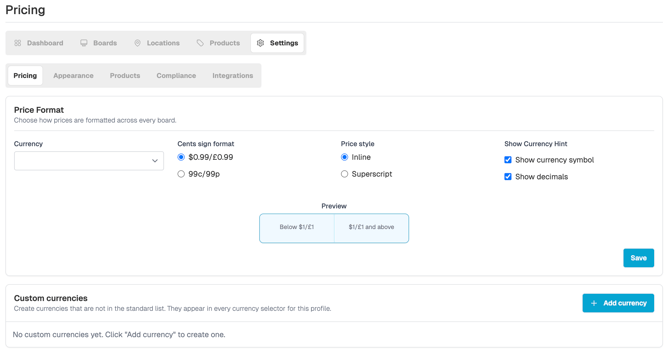
- Click Settings > Pricing.
- Under Default currency, select your currency, for example US Dollar. If your currency is not in the list (for example, South African Rand), add it as a custom currency.
- Choose how prices are formatted. See the table below.
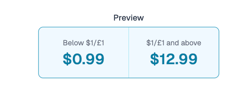
- Look at the Live preview. It shows exactly how a price will look on your boards.
- Click Save.
What you will see: A success message appears, and your currency is still selected if you reload the page.
|
Option |
What it does |
|---|---|
|
Default currency |
The currency used for all prices. |
|
Pricing format |
How price values are written, for example as decimal values. |
|
Display style |
How the currency symbol is positioned: superscript (small and raised), subscript (small and lowered), inline (same size as the price), or hidden. |
|
Show decimals and Show currency symbol |
Turn these on or off to show or hide the decimal part of the price and the currency symbol. |
|
Decimal places |
How many digits appear after the decimal point. You can use up to 5. A number above 5 is rejected. |
ℹ️ Tip: Check the Live preview before you save. It is the quickest way to see whether you have the style you want.
2.2 Appearance
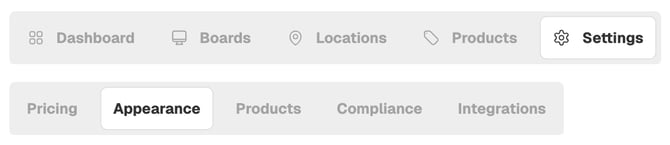
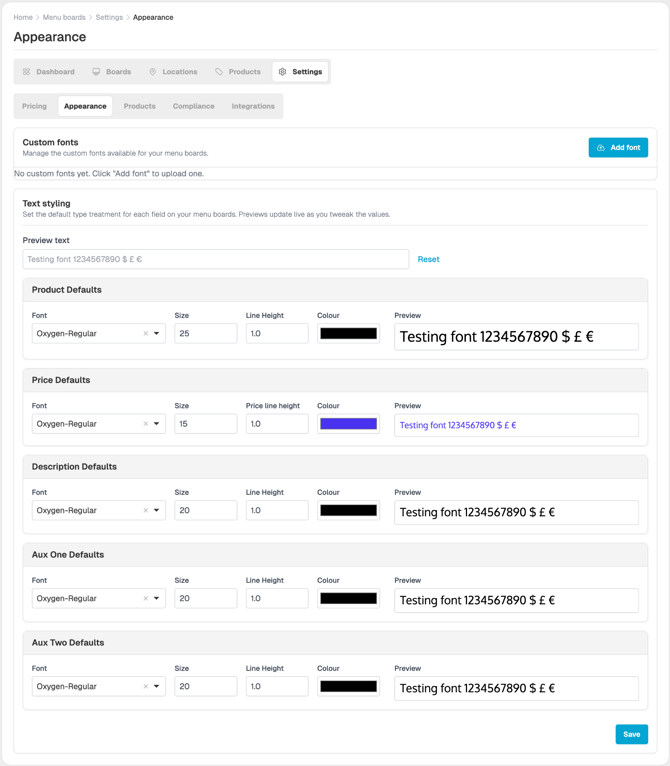
Use this sub-tab to set the default look of the text on every board so that your boards stay on brand.
- Click Settings > Appearance.
- Find the group you want to change, such as product name, price, description, Aux 1 or Aux 2.
- Choose the font family, size, line height and colour.
- Check the Live preview. It updates instantly as you make changes.
- Click Save.
Using your own font. If your brand uses a special font, add it as a custom font. Once added, you can choose it in the font list.

- Changes to a group only affect the preview for that group.
- Changing the default text colour updates your existing boards as well as new ones. New zone elements also start with the default colour.
- You can still change fonts on an individual board later. Settings here are the starting point, not a lock.
2.3 Product settings
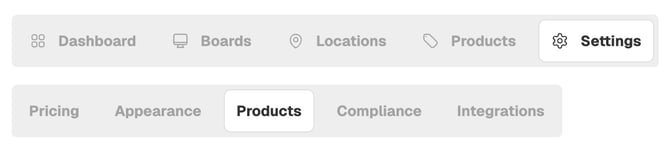
This sub-tab holds the extra information and images that your products can use. It is made up of separate cards.
Important: Each card has its own Save button. Click Save on every card that you change, or your changes will be lost.
Languages
- Click Settings > Products.
- In the languages card, choose your default language, for example English UK.
- Add any other languages you need (called local languages).
- Click Save.
What you will see: Each product form now has one language tab per language you saved, with your default language selected first.
-
Custom attributes:
-
Custom attributes are extra fields that you add to your products, such as Allergens, dietary requirements or promotional flags. Once created, they appear on every product form. They are blank by default.
-
-
Default graphics:
-
Default graphics are the images used when a product has none of its own. For example, you can choose the image that appears when a product is marked Out of stock.
-
-
Custom icons:
-
Custom icons are small pictures that you can show next to a product, such as New, Chef’s Special, Vegetarian, Vegan or a spice level.
-
- In the custom icons card, add a new icon and upload your image.
- Click Save.
Note: Adding an icon here does not show it on a board yet. To display an icon you must also turn it on for a product (Part 3) and turn on Show product icons for the zone element (Part 7).
2.4 Compliance
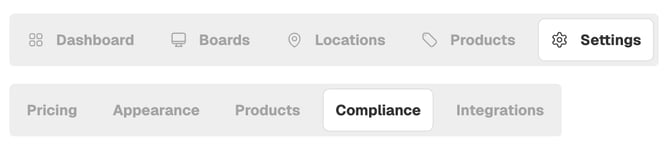
Use this sub-tab to make sure your products carry the information your region requires, such as allergen details.
- Mandatory attributes. Standard properties such as price, product image and out-of-stock settings are available by default. You can also choose which of your custom attributes (for example, Allergens) must be filled in.
- Compliance checking. If a mandatory detail is missing from a product, the system flags that product as a “fail”.
- Compliance profiles. The default rules are called Global default. If some countries, regions or groups of stores have different rules, create a separate profile for them, for example “EU Stores”. A profile can then be chosen instead of Global default.
2.5 Integrations
Use this sub-tab to manage connections to outside systems, such as a POS, and to make manual updates to products at a location using a CSV template.
When you start a product import, it appears straight away in the imports list with an “in progress” status. You can also see completed imports on the Dashboard.
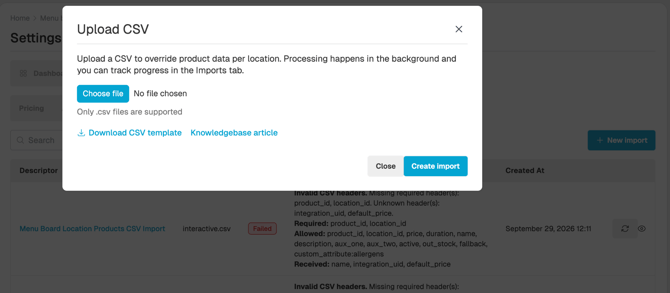
To manually run the integration, specifically to update product details, use the “+New Import” button.
This shows a pop-up where you can upload the CSV file. If you do not have the data in the accepted template, you can download from the pop-up.
ℹ️ To know more about the import process, click the Knowledge base link on the pop-up.
ℹ️ Once you have completed guide, move onto the next guide linked below:
Part 3: Products and Product Lists.
🆘 Require further help and assistance:
Contact the NowSignage Customer Success team to discuss a bespoke training session.
Please note: bespoke training sessions are chargeable.