How To Set Up A Social Media Feed For Your Screen
A folder serves as a storage space for your social media content, allowing you to publish posts directly into it for display on your screens using the social media template feature. For instance, you might create a folder named 'Facebook' to house all your company's Facebook posts.
IMPORTANT: Before Proceeding with the Steps, please ensure you have your social media accounts connected. Please refer to the following guide
Step 1: Set up your social media folder
To create a social media folder, simply go into the the 'Content' tab on the left side bar and select 'Social Posts'. On the right of the page you will see a 'Folders' button, click here. Now enter the name of the Folder you want to create (e.g. 'Facebook'), enter the number of items you wish to show on your social feed in 'items displayed' (this is optional) and press 'create folder':
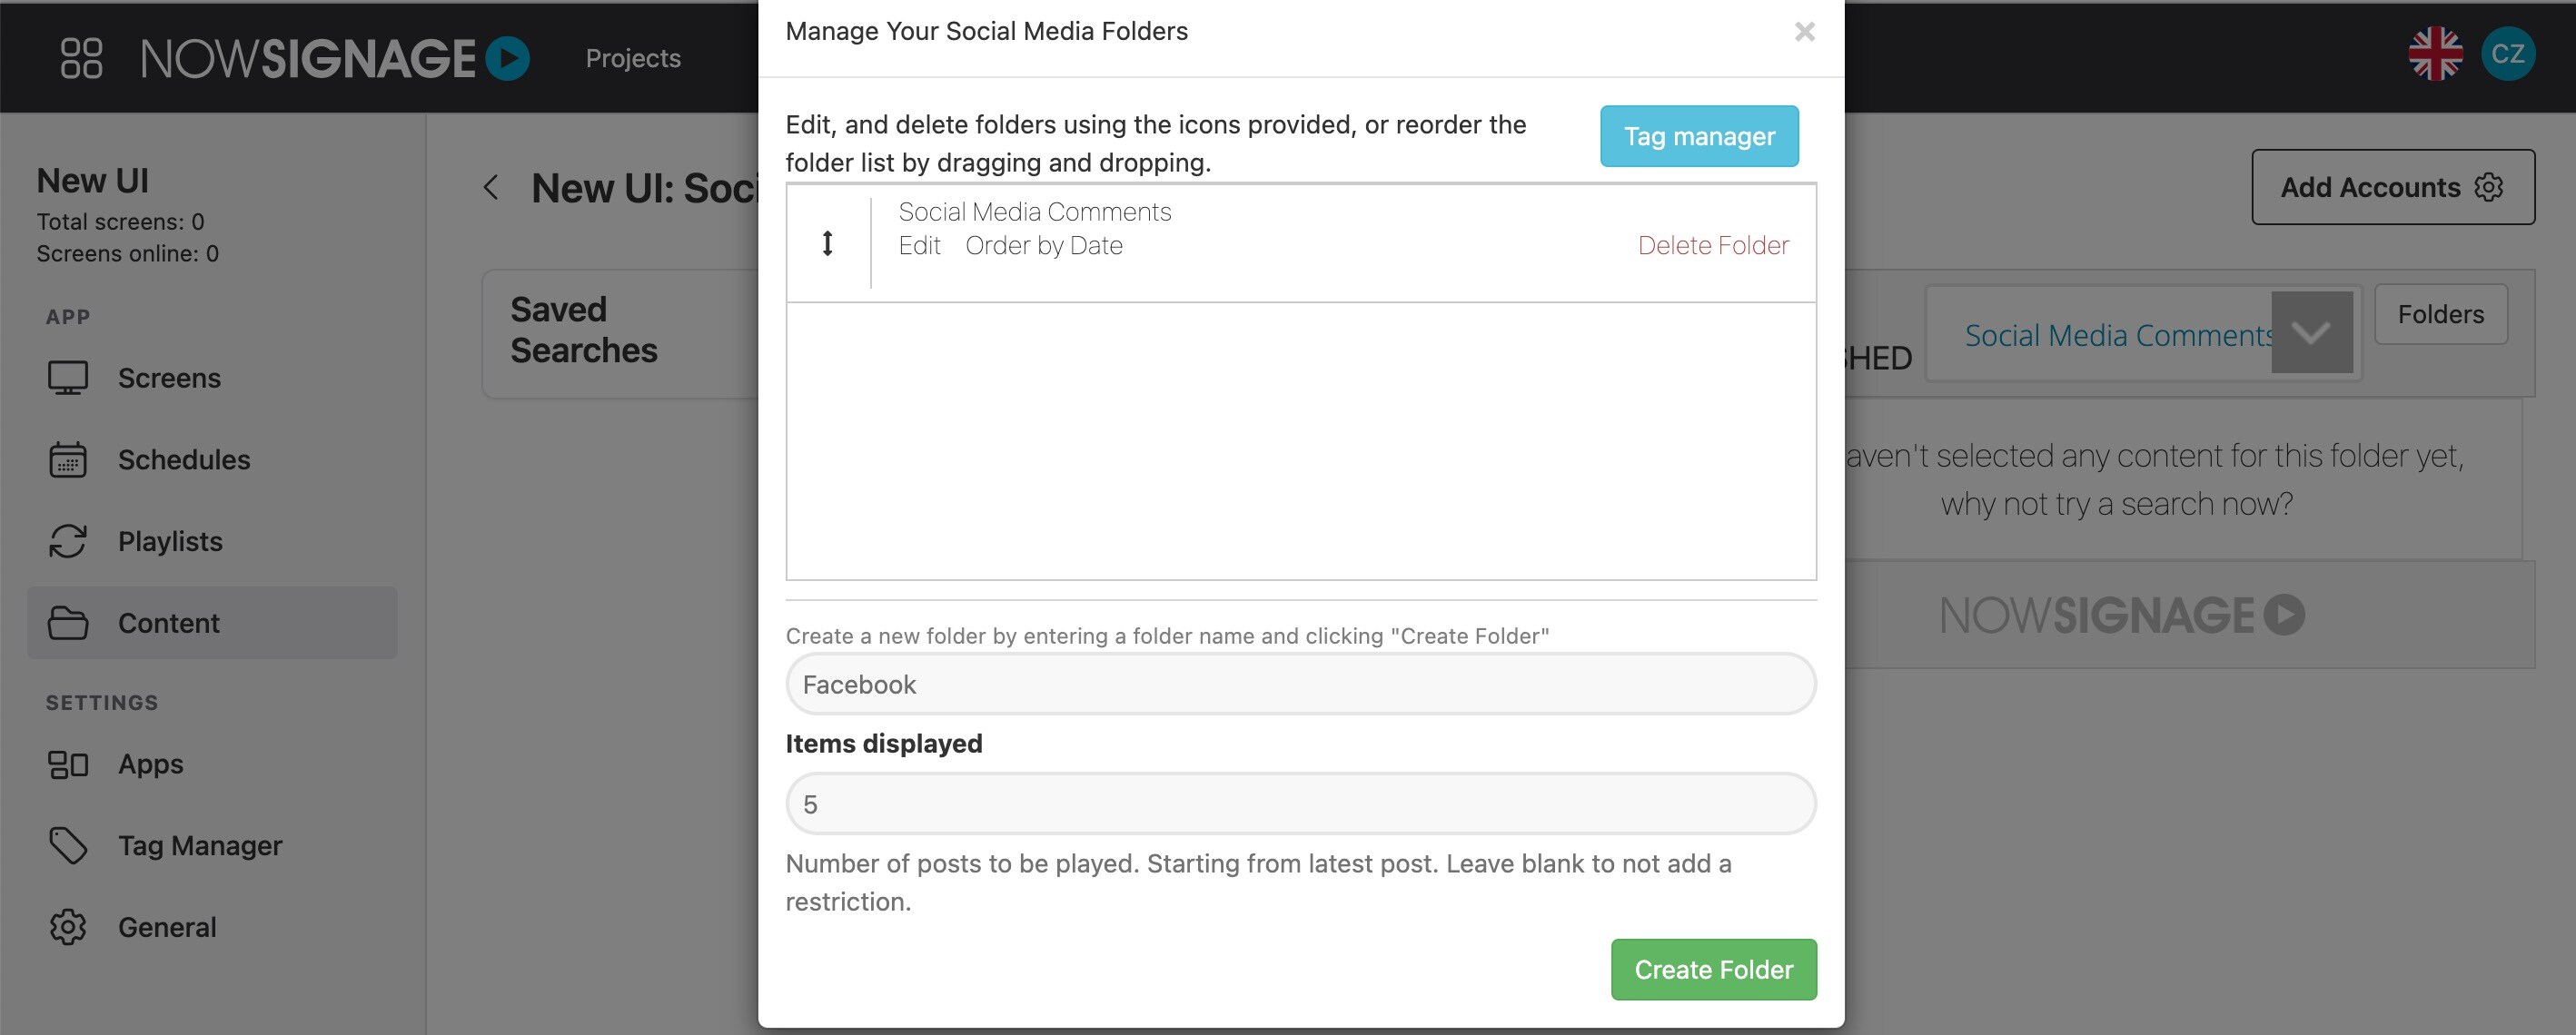
Your folder will now appear on your social search dashboard. If you have multiple folders, press the drop down to filter through them. The 'Social Media Comments' folder is a default folder, so can be deleted if you are not using this.
Step 2: Set up your searches
You now need to search for your social media content and publish some posts into the folder you have created. To do this, click on the social media icon you want to search, then click into the 'What are you searching for today?' box and select the account you want to search:
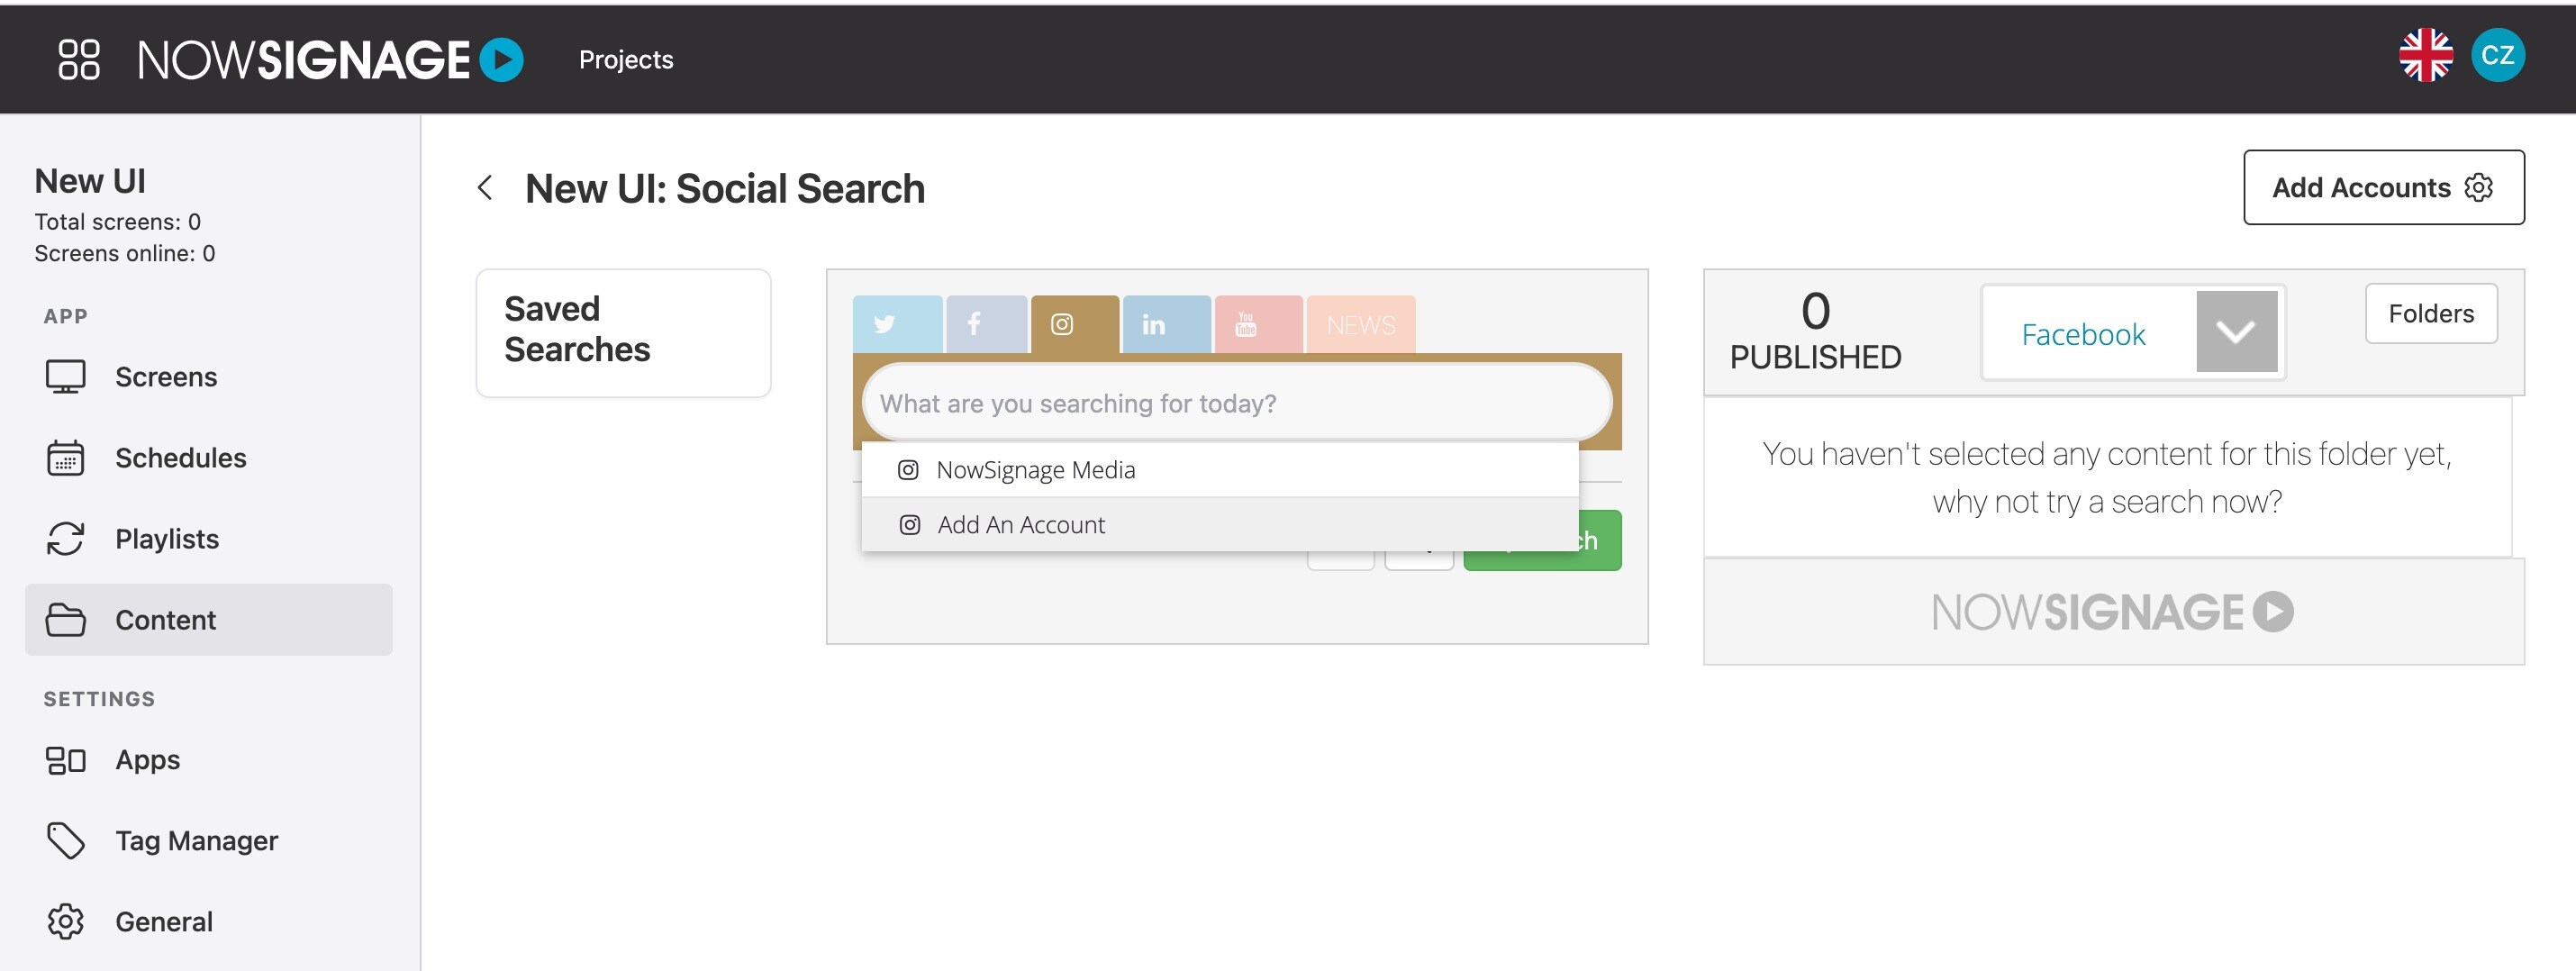
Once you have selected the account, click the green 'Search' button and this will search your account and bring through the latest posts: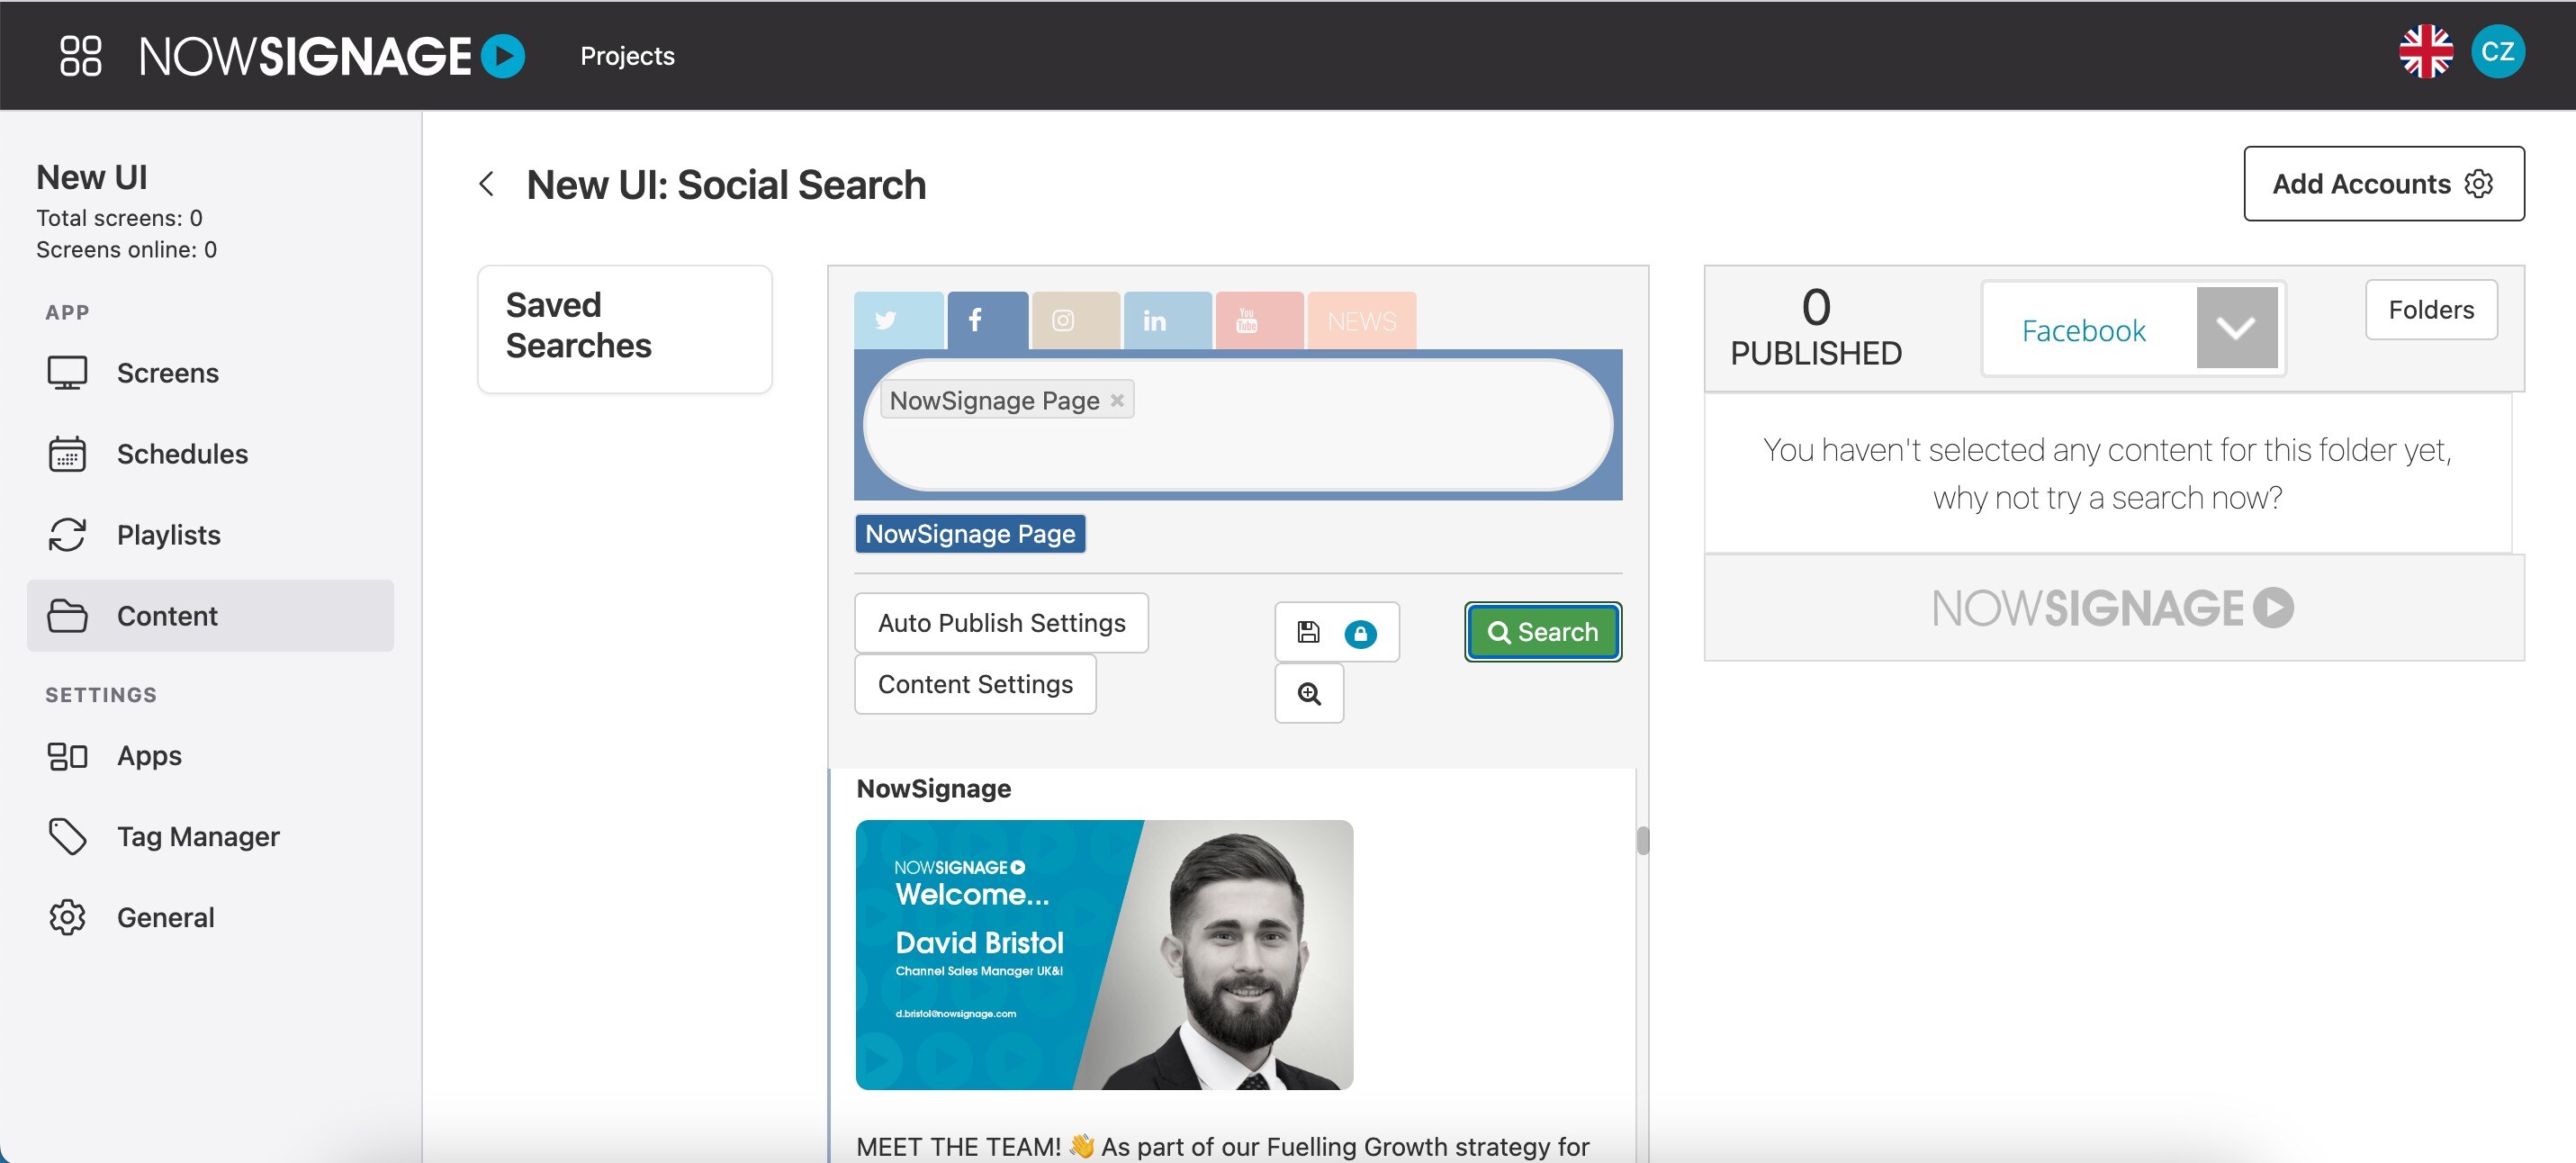
You can now save this search for easier access in the future, as well as to set up filtering and auto-publish options. To do this, click on the lock icon located next to the search button, then enter a name for your search and click 'Save Search':
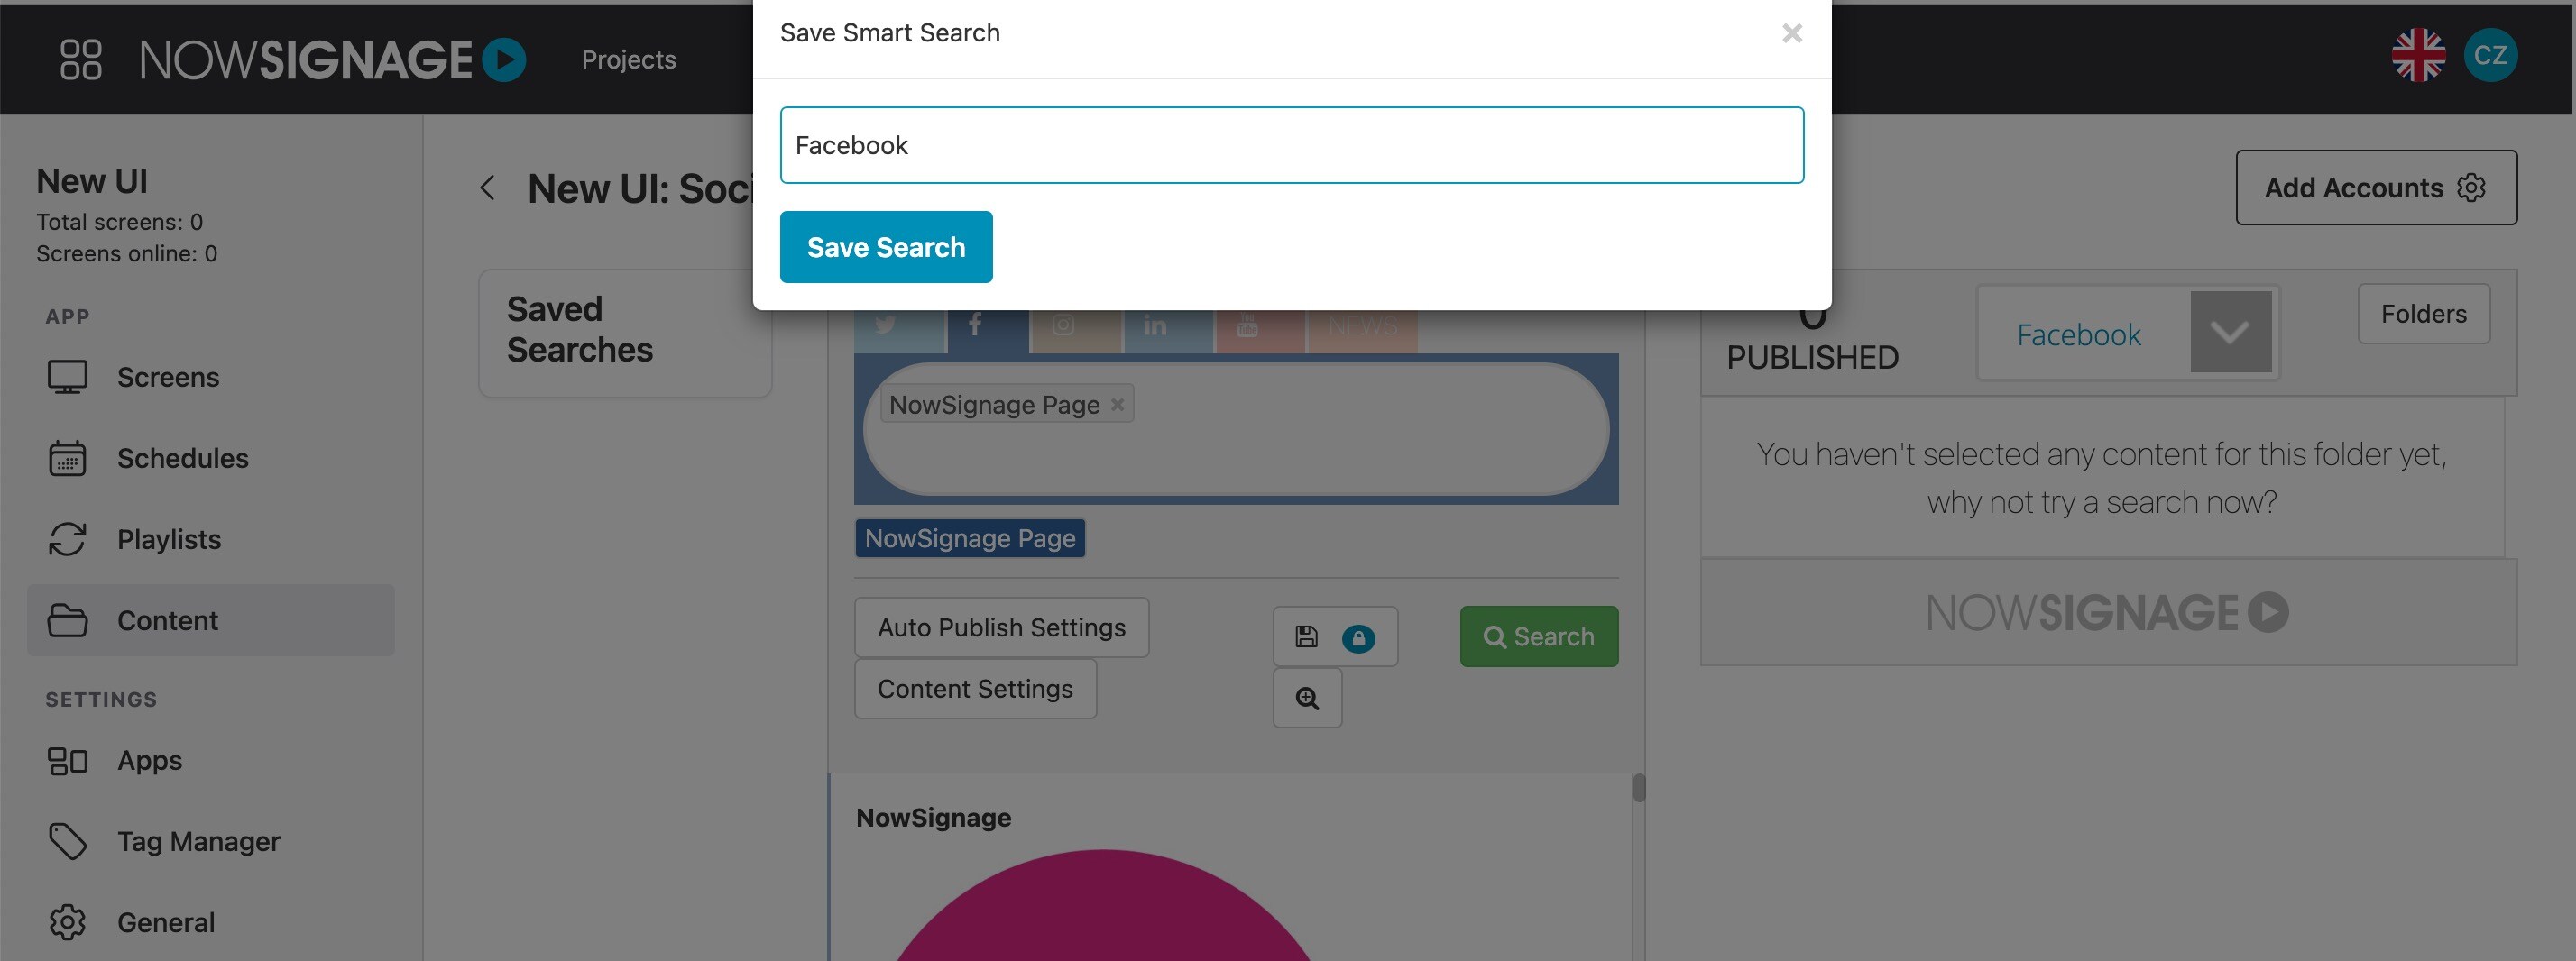
You can create as many saved searches as you like for each social media source you want to connect this to.
Step 3: Set up autopublish for your searches (optional)
By accessing your saved search, you have the option to configure automatic publishing of the latest posts to your feed. To enable this feature, click on 'Auto Publish Settings,' select the desired folder where you want the content to be published, and then click 'Save Settings.'
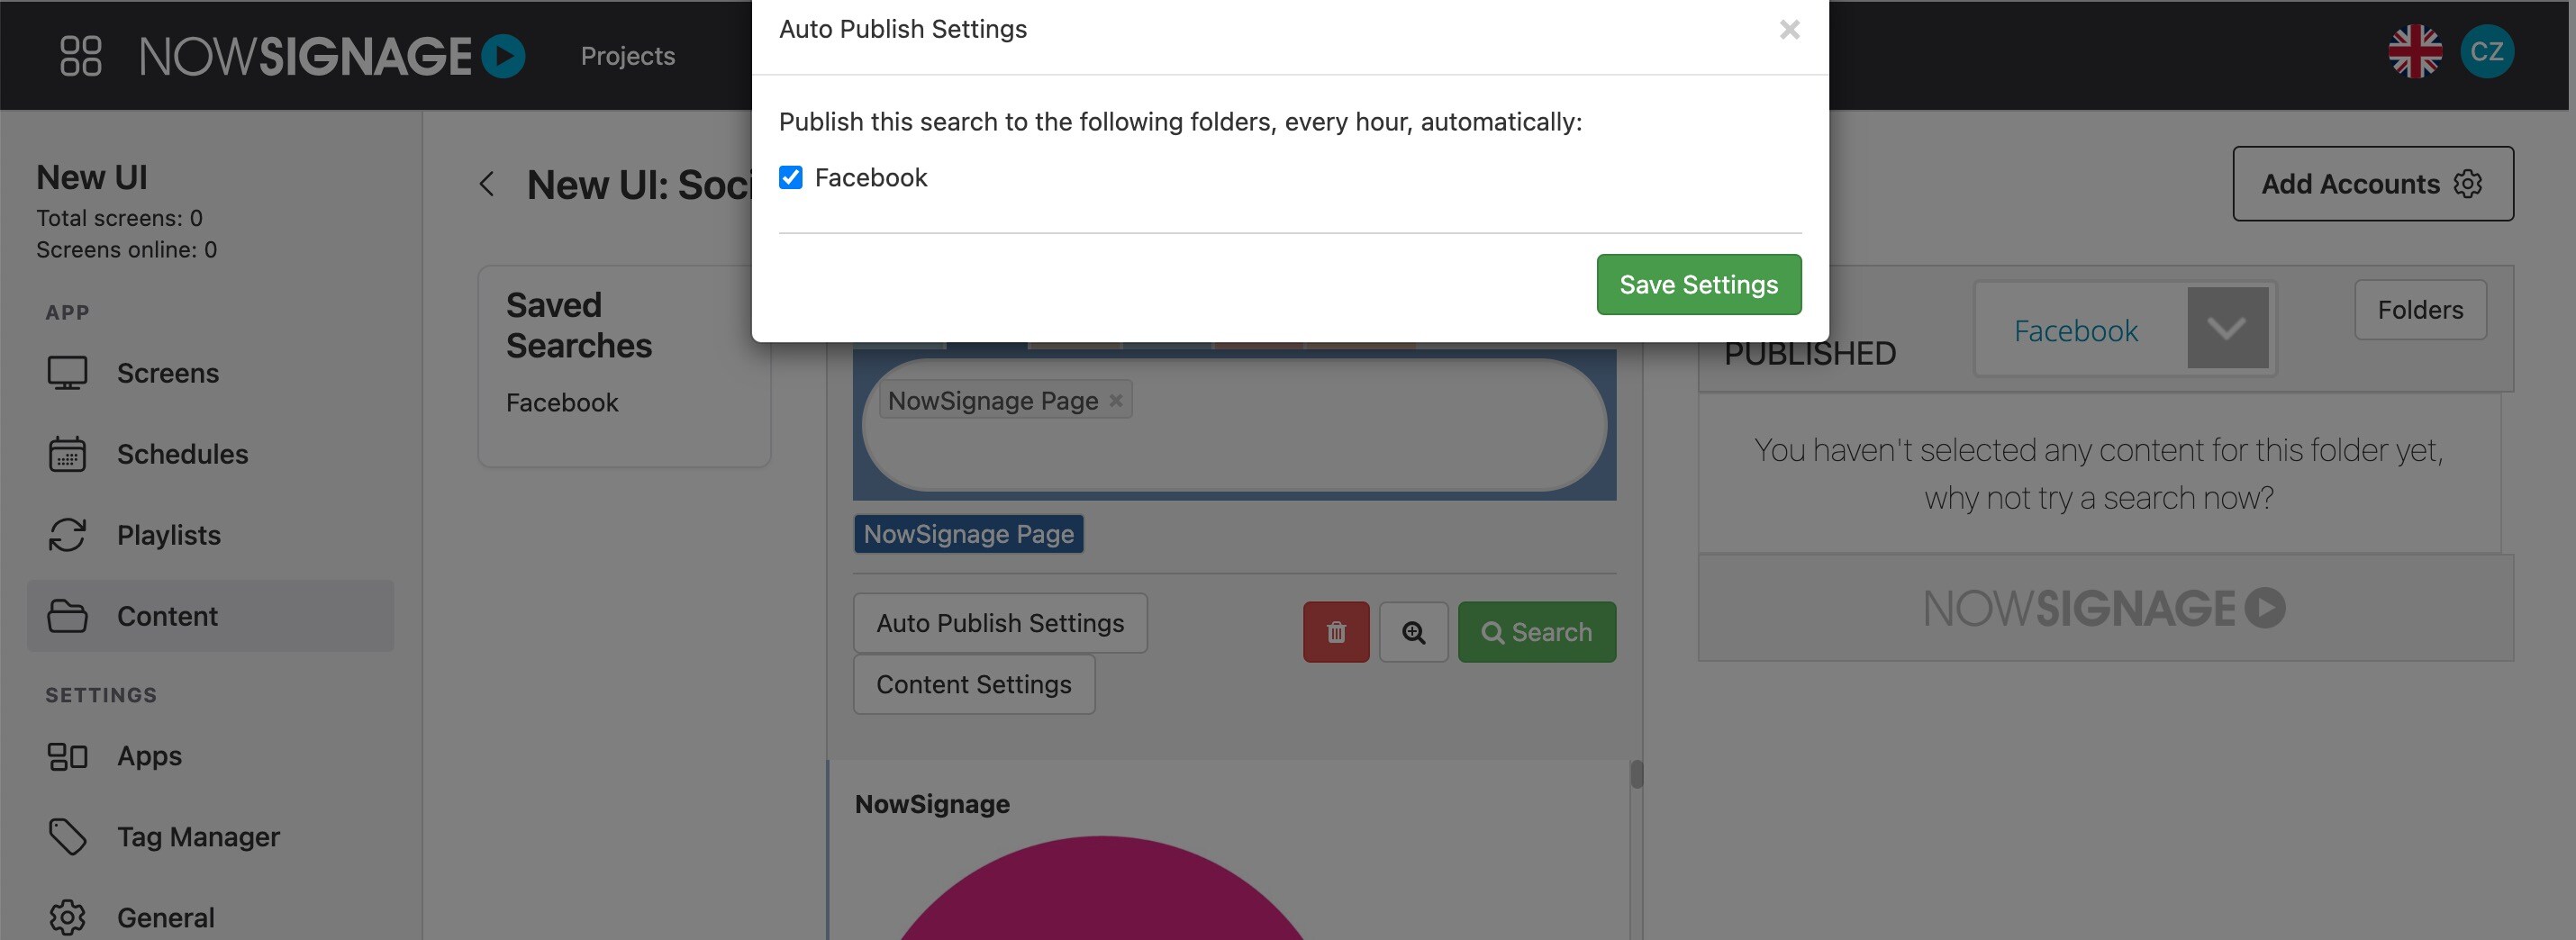
This will now search your account every 1 hour for any new posts and if there are new posts, this will publish them automatically to your social media folder.
Step 4: Manually publish content to your social media folder
Since you have just created a new folder, it will not have any content initially, as the auto-publish feature only looks for new posts going forward. Therefore, you will need to manually publish some posts to populate your social feed with content for display.
To do this, click on your saved search and your posts will appear in the middle section of the social area. The oldest posts will appear at the bottom and the latest at the top.
You can scroll down and manually choose which posts you wish to publish to your social feed, once you find a post to publish, click the 'publish' button and the posts you have published will appear in the folder you have selected on the right:
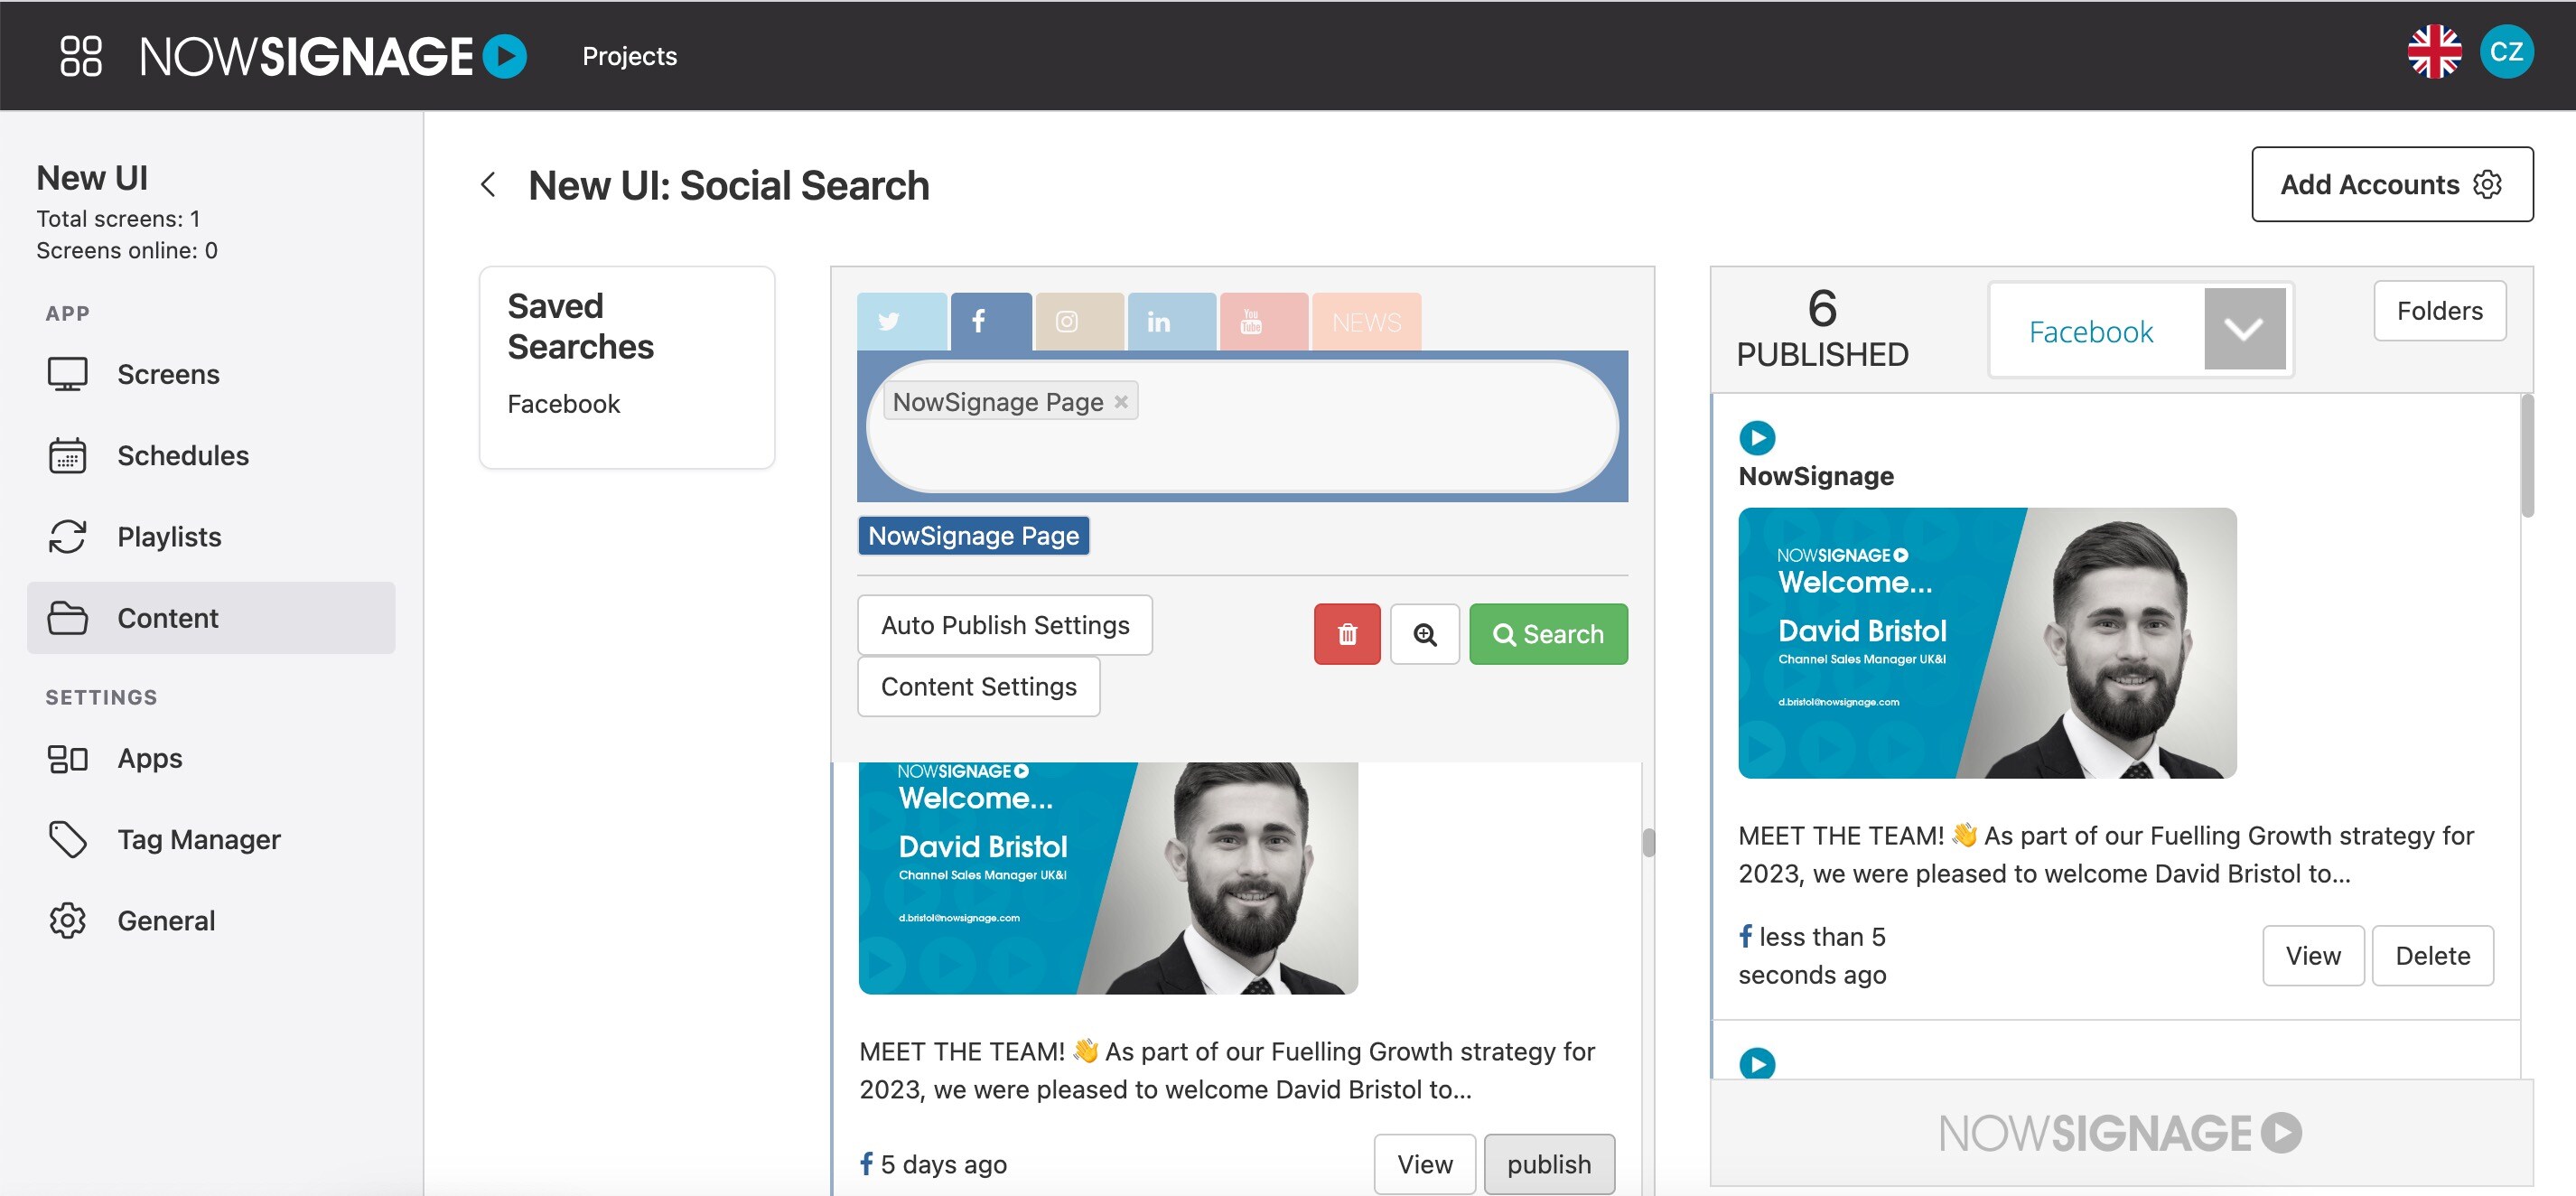
You then have full control over the posts, so you can reorder them or delete them from the folder.
Step 5: Create your social media template
Now you need to create a template, this is where you can design how you want the social template to visualise on your screens. To access the design studio, go into the 'Content' tab and then select 'Template Designs' under the social media heading.
Once you are in the design studio you can select ‘Create New Template+’: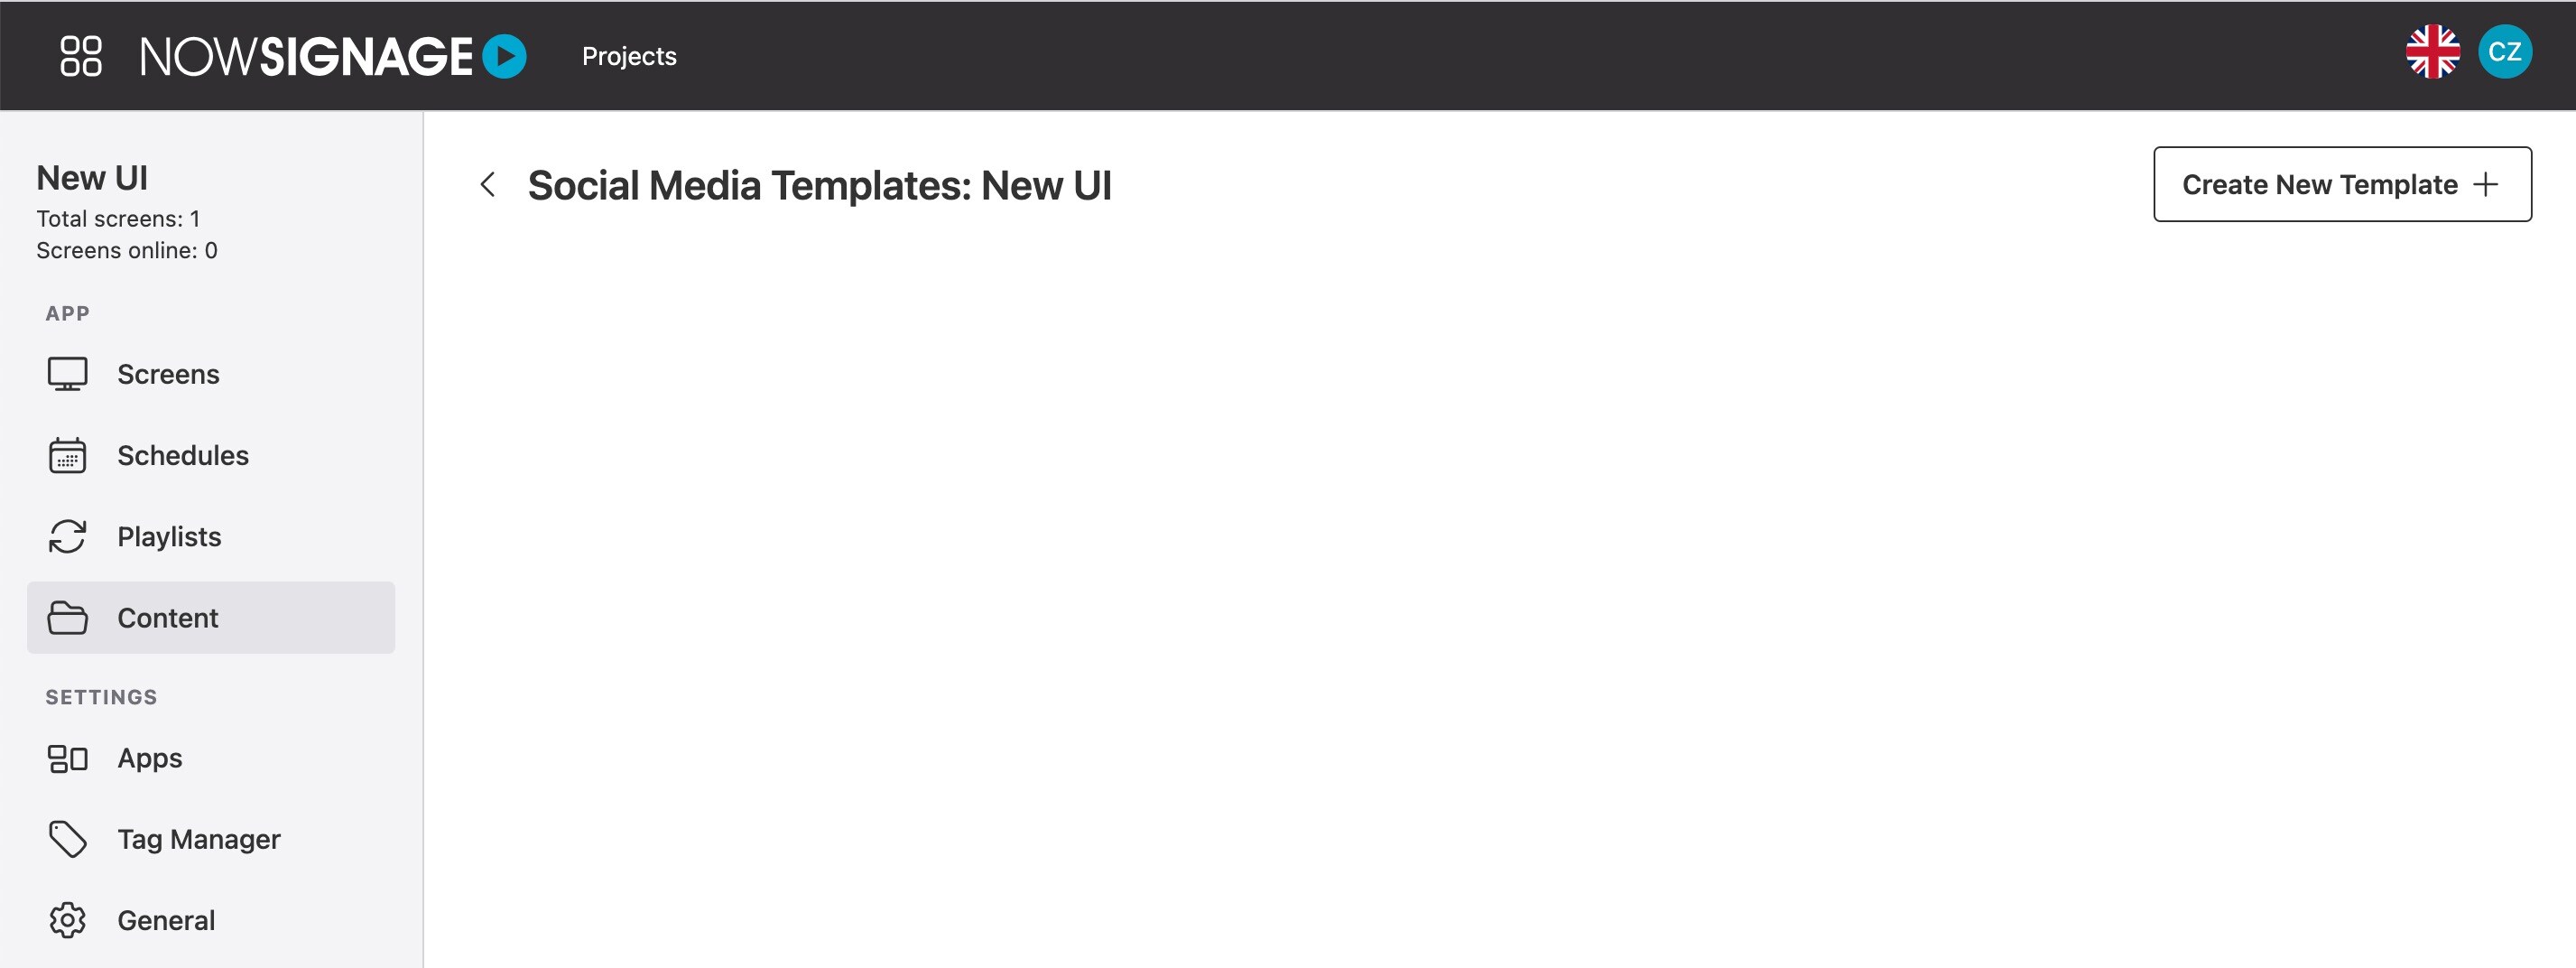
Start by naming your template design and selecting your preferred animation style.
Once happy with your choice, select the ‘background’ tab and upload your custom designed background. The final step is to apply your brand colours by selecting the ‘colour’ tab and choosing your primary, secondary and tertiary colours from our colour picker. When you are happy with this, click 'Save' to save your template.
Step 6: Add your social media template to your playlist
Once your social feed template design has been saved you will then be able to add this asset into your playlists. This can be done by selecting the 'playlist' tab and either creating a new playlist or editing an existing playlist. When adding a new asset, click on 'Social Media Templates' within the dropdown list and select the template you have created:
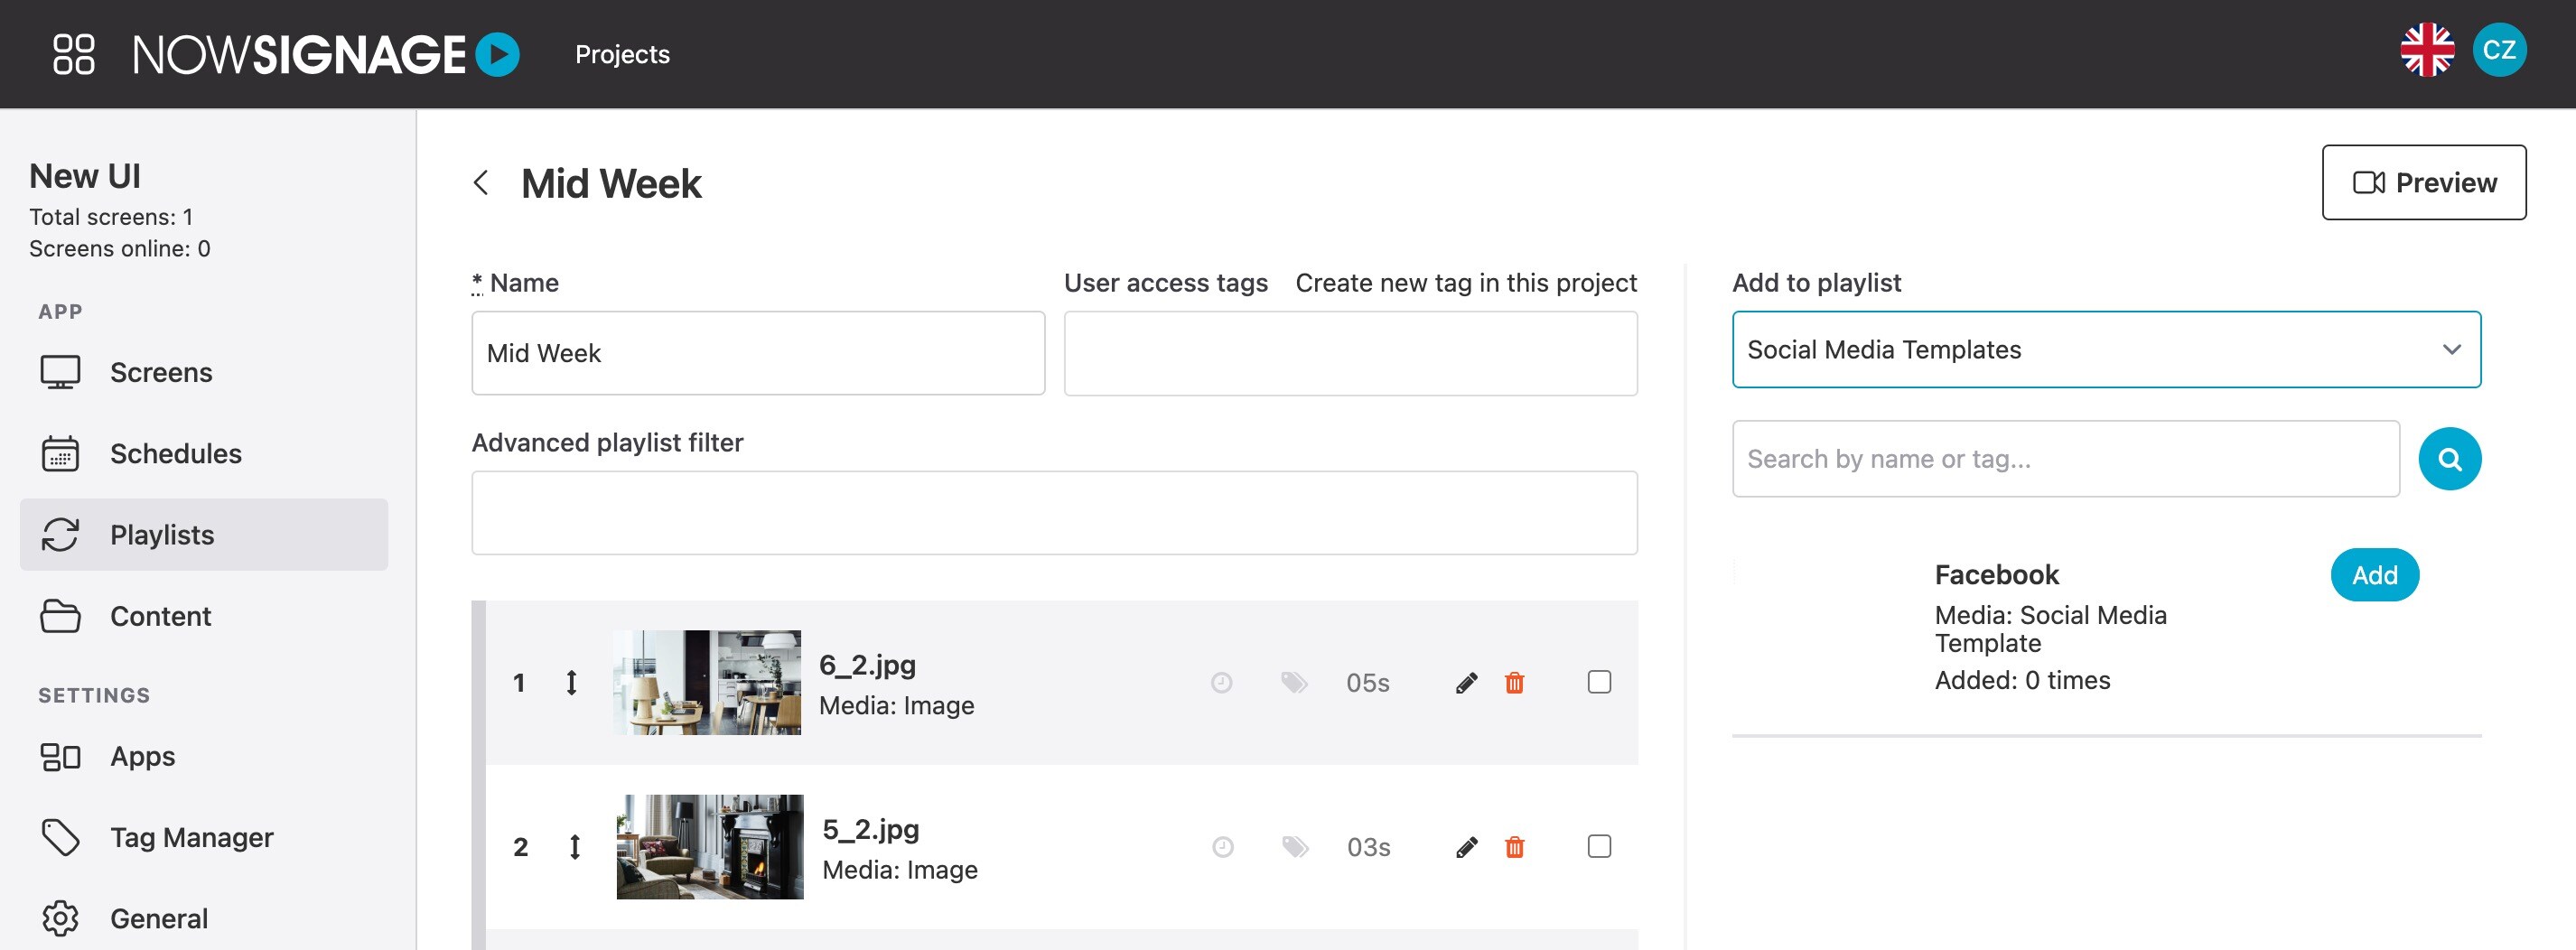
Now enter the duration you require the social media feed to show for. Then select the 'Channel' dropdown and choose which social media folder you wish to display on this template, then add it to the playlist.